In this Topic Hide
Note: The information described in this section applies to all three import options i.e. File Import, Cisco and LDAP except where otherwise noted.
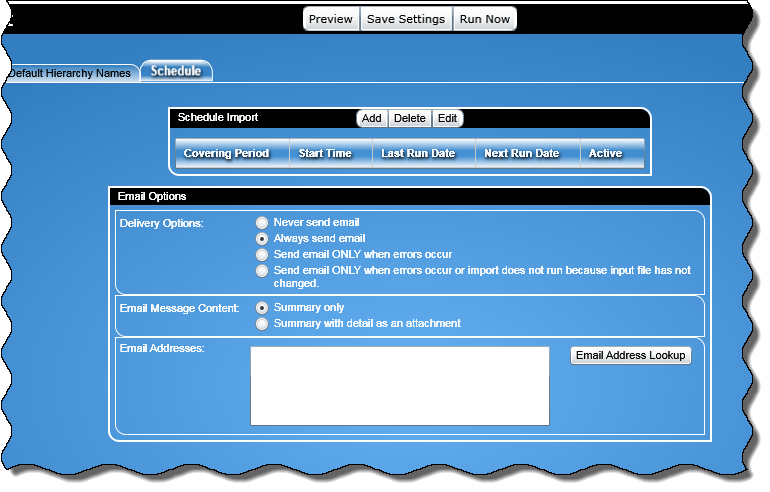
This tab allows you to define when to schedule the import.
Note: Each import can have only one schedule assigned to it.
The Schedule screen is as shown below:

The Schedule tab is divided into the following sections:
Schedule Import
Email Options
Options

At the top of the Schedule Import section, there are three buttons that perform the following:
Add: This option will let you add a schedule
Edit: This option will let you edit an existing schedule
Delete: This option will let you delete an existing schedule
To create a schedule, click the Add button. You can set up the schedule on a monthly, weekly or daily intervals basis, or on a specific date and time (one time import).
![]() Click for more information on creating a schedule import.
Click for more information on creating a schedule import.

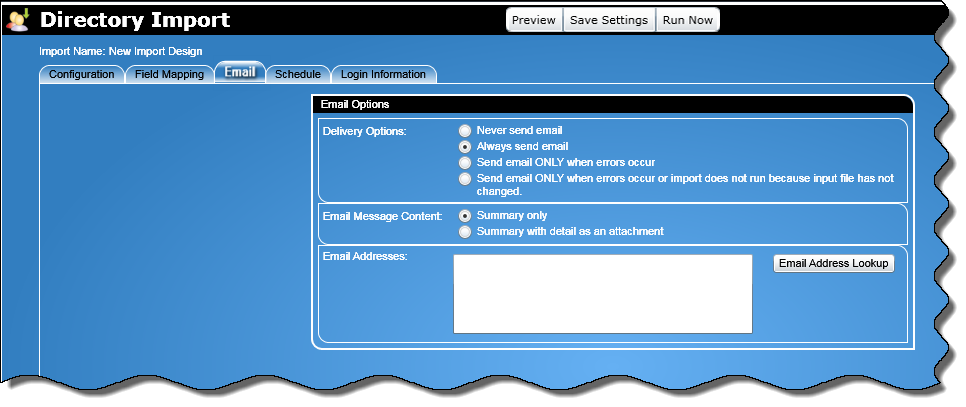
This section will allow you to choose what type of email information to send when the import runs.
Never send email:
Note: This is the default option and no email message will be sent.
Always send email: This option will always send email.
Send email ONLY when errors occur: This option will send an email only if errors are logged. Errors include any import where records are rejected for issues other than filtering reasons.
Send email ONLY when errors occur or import does not run because input file has not changed.
Note: This option is only visible for File Import.
Summary only: This option will send a summary of the imported information.
Summary with detail as an attachment: This option will send a summary of the imported information but also provide details which can be viewed via the attached file.
You can enter in multiple email addresses separated by a semi-colon or use the Email address Lookup to lookup email addresses.