The field name values are as shown in the following screen:
|
|
|
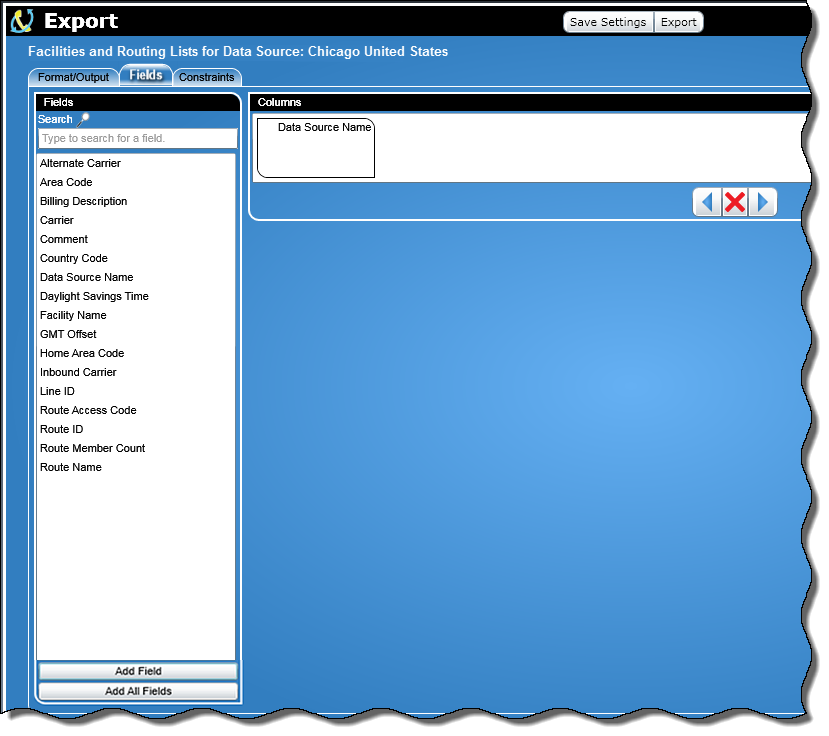
The Fields section contains field names that can be used as columns in an export.
There is a Search text box where you can enter your search criteria, and as you type, the field names listed will shorten depending on your search criteria.
Below the Search text box is a list of field names (as shown above).
At the bottom of the Fields section screen is an Add Field button. When clicked, the selected field name will be added to the Columns section.
Below the Add Field button is an Add All Fields button and when clicked will copy all the fields to the Columns section.
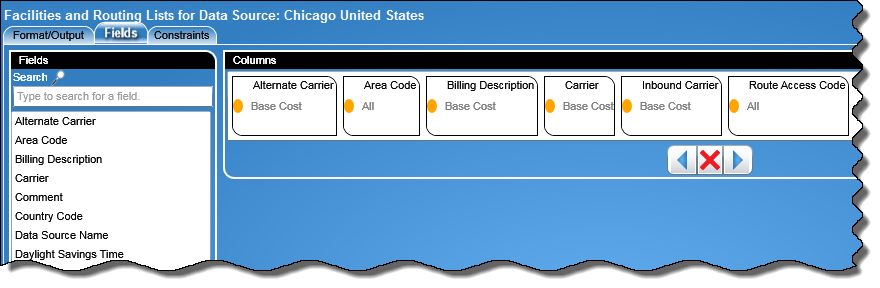
Note: For the fields Alternate Carrier, Area Code, Billing Description, Carrier, Inbound Carrier, and Route Access Code:
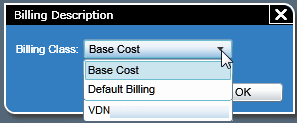
Note: For Billing Description, Alternate Carrier, Carrier, and Inbound Carrier fields , the number of choices in the drop down list is dependent on how many Billing Classes are being used. The default will be “Base Cost”. For example , if the user chose 2 as the number of Billing Classes to include and assigned “VDN” as the name of Billing Description 2, the Billing Class drop down list for all of these fields will be as shown below:
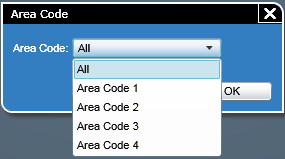
Note: The Area Code field provides a drop down list (as shown below) with a default of All:
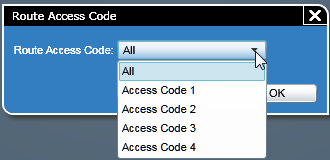
Note: The Route Access Code field provides a drop down list (as shown below) with a default of All:
To add a field name as a column, perform the following:
Select the desired field name from the list.
You can drag and drop the field name into the Columns section by performing the following:
Click on the field name to select it.
While holding down the left mouse button, move the field name into the box in the Columns section.
Alternatively, you can click the Add Field button after selecting the field name.
Once the field name has been added to the Columns section, you can delete a column or determine the order in which the columns are displayed.
![]() Click for more information on deleting or re-ordering
columns.
Click for more information on deleting or re-ordering
columns.